 Save
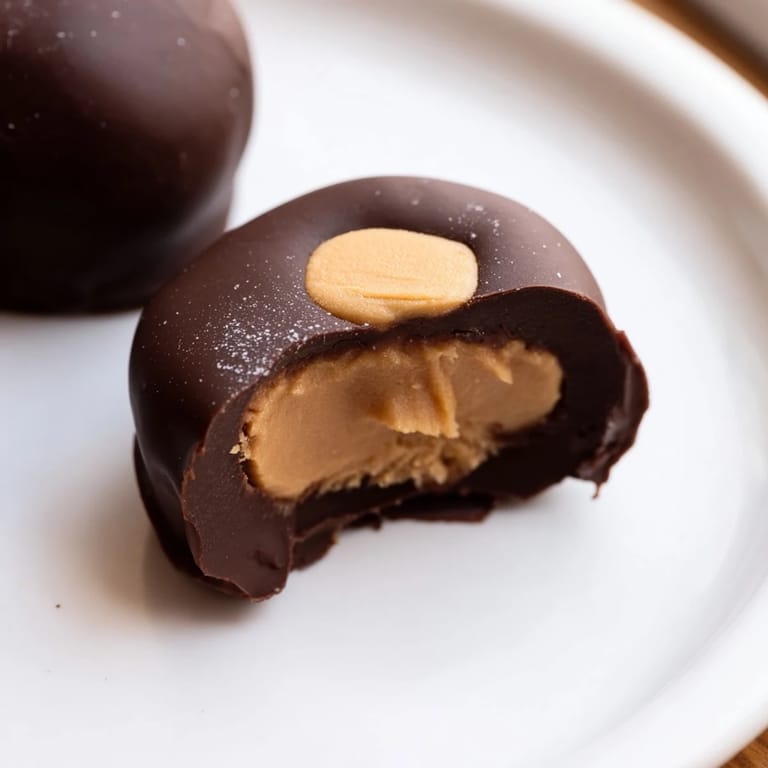
Save My neighbor brought a tin of buckeyes to our door one December afternoon, and I bit into one without thinking much about it—just another holiday treat. The moment that chocolate cracked and the creamy peanut butter center melted on my tongue, I understood why she made them every single year. I spent the next week hunting down her recipe, and now I can't imagine the holiday season without rolling these little no-bake treasures in my own kitchen. There's something almost meditative about dipping each ball, leaving that tiny circle of peanut butter exposed like a secret. Once you taste a homemade buckeye, the store-bought versions feel like a distant memory.
I made these for the first time during a snow day when my sister called asking if I could bring something to a last-minute gathering that evening. I was nervous—I'd never attempted candy before—but the recipe felt forgiving enough. By the time the snow stopped, I'd made my first batch, and watching my sister's face light up when she tried one made me feel like the kitchen magician I'd always wanted to be.
Ingredients
- Creamy peanut butter: The foundation of everything—use a good quality one you'd eat straight from the jar, because that's basically what you're tasting.
- Unsalted butter, softened: This creates the tender, melt-in-your-mouth texture that makes buckeyes irresistible, so don't skip it even though peanut butter is already rich.
- Pure vanilla extract: Just a teaspoon rounds out the sweetness and adds a subtle warmth that makes people ask what your secret ingredient is.
- Fine salt: A tiny pinch that nobody tastes directly but somehow makes the whole thing taste more like itself.
- Powdered sugar, sifted: This is what transforms the filling from spreadable to rollable, so don't pack it down when you measure.
- Semi-sweet chocolate chips: The coating that gives buckeyes their identity—choose a brand you actually like eating because quality matters here.
- Coconut oil or vegetable shortening: This thins the chocolate just enough to coat smoothly without making it taste greasy, and it helps the chocolate set properly.
Tired of Takeout? 🥡
Get 10 meals you can make faster than delivery arrives. Seriously.
One email. No spam. Unsubscribe anytime.
Instructions
- Mix the creamy filling:
- In a large bowl, beat together your peanut butter, softened butter, vanilla, and salt until it looks smooth and pale. The butter should be genuinely soft—take it out of the fridge thirty minutes before if you forgot, because cold butter won't cooperate.
- Add the sweetness:
- Gradually work in the sifted powdered sugar, mixing until the filling looks like thick, slightly crumbly cookie dough. Stop before it gets completely smooth—a little texture is your friend here.
- Roll into balls:
- Scoop tablespoon-sized portions and roll them between your palms into 1-inch balls, then place them on a parchment-lined baking sheet. Your hands might get a little sticky, but that's how you know you're doing it right.
- Chill until firm:
- Slide the sheet into the refrigerator for at least thirty minutes—this step is non-negotiable because warm balls will slip right off your toothpick into the chocolate. If you're impatient, thirty minutes is the bare minimum.
- Melt the chocolate coat:
- In a microwave-safe bowl, combine your chocolate chips and coconut oil, microwaving in thirty-second bursts and stirring between each one. This gentle approach prevents the chocolate from seizing up and turning grainy.
- Dip with intention:
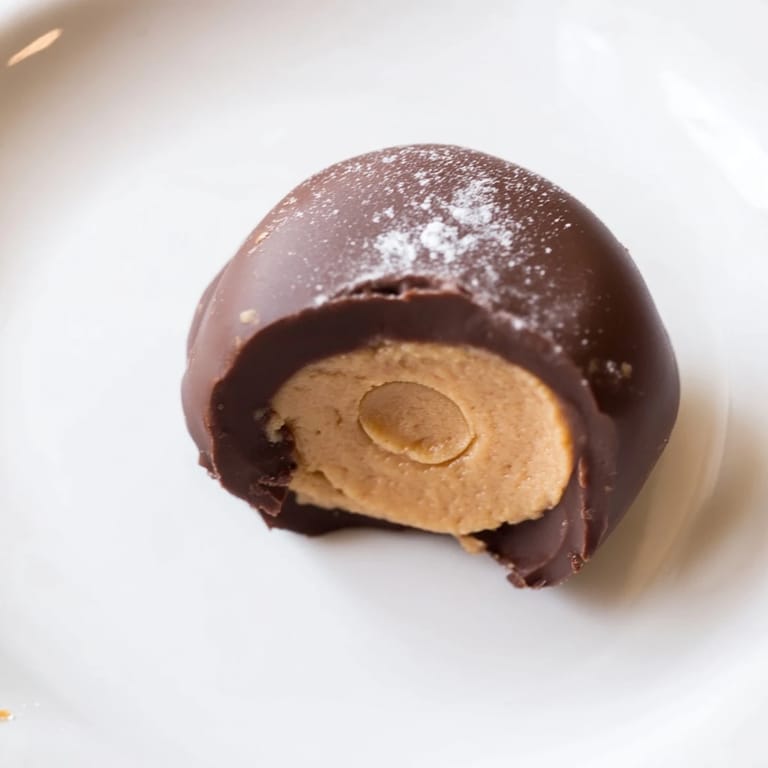
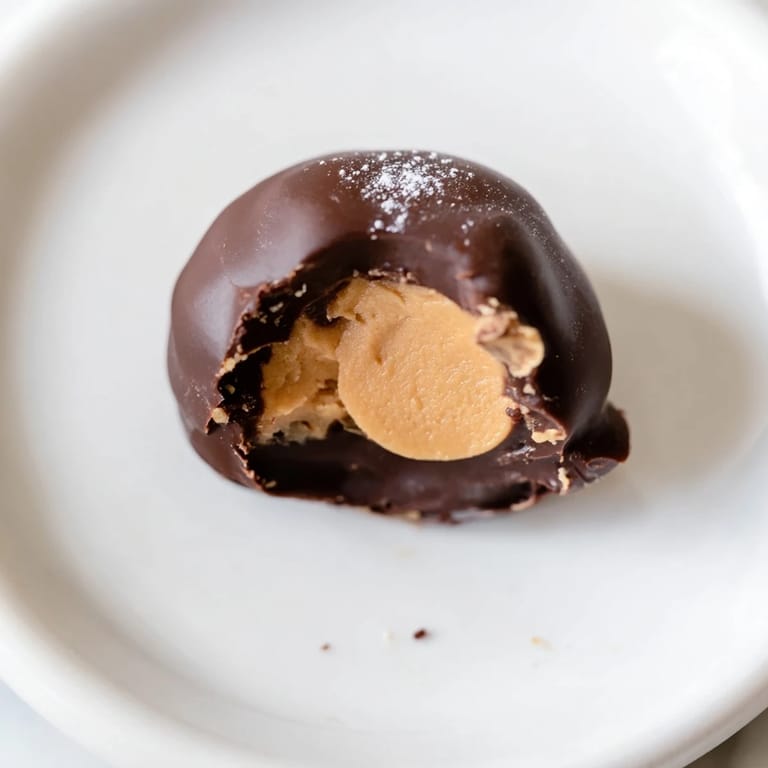
- Stick a toothpick into a chilled peanut butter ball and plunge it into the warm chocolate, then lift it out and let the excess drip back into the bowl. Leave a small circle at the top unpainted—that's what makes it look like a buckeye.
- Set and finish:
- Place each dipped buckeye back on the parchment, then gently pull out the toothpick and smooth over the tiny hole with your finger. Chill again for about twenty minutes until the chocolate hardens completely.
 Save
Save There was a moment last year when my four-year-old nephew watched me dip the buckeyes and asked if they were real buckeyes—the kind that fall from trees. I showed him pictures, and suddenly these little candies meant something different to him, like edible art or a joke he was finally getting. Now every holiday, he asks if we're making buckeyes, and I realize this recipe is less about the candy itself and more about creating small traditions together.
Texture and Temperature Matter
The magic of buckeyes lives in the contrast—the firm chocolate shell snapping between your teeth while the peanut butter center stays creamy and soft. This only happens if your timing is right, which means letting the filling chill properly before dipping and giving the chocolate time to set afterward. I've learned that trying to rush either step results in something that tastes good but feels mushy, and texture is half the experience here.
Variations That Actually Work
Once you've made the basic version, it's hard not to experiment. I've swapped in white chocolate for a sweeter, less intense coating, and it surprised me how different it felt—almost like eating a completely different candy. Chunky peanut butter adds a pleasant bite that transforms the whole mouthfeel, and almond butter creates a subtly different flavor that people always try to guess. The beauty of buckeyes is that they're forgiving enough to handle these experiments without falling apart.
Storage and Smart Timing
These buckeyes are built for planning ahead, which is why they've become my secret weapon for holiday entertaining. Make them three days before a gathering and they sit quietly in the fridge, tasting even better as the flavors settle. They'll keep for up to two weeks refrigerated or can be frozen for months, though I've never actually had any last that long.
- Store them in an airtight container with parchment between layers so they don't stick together.
- Take them out of the fridge about five minutes before serving so the peanut butter center softens just slightly.
- If you're shipping them to someone, wrap each one individually and pack them in a cooler with an ice pack for the journey.
 Save
Save Buckeyes taught me that the best holiday recipes are the simple ones you return to year after year, not because they're complicated or impressive, but because they make people smile. Once you've made a batch, you'll understand why everyone you give them to asks for the recipe immediately.
Recipe FAQs
- → What ingredients create the peanut butter center?
The filling combines creamy peanut butter, softened butter, vanilla extract, salt, and powdered sugar, resulting in a smooth and slightly firm dough.
- → How is the chocolate coating prepared?
Semi-sweet chocolate chips are melted with coconut oil or vegetable shortening until smooth, then used to partially dip the peanut butter balls.
- → Can the texture be adjusted for crunchiness?
Yes, using chunky peanut butter instead of creamy adds a pleasant crunch to the filling.
- → What is the chilling process and its purpose?
The peanut butter balls are chilled before dipping to firm up, which helps the chocolate coating set properly and maintain shape.
- → How should these treats be stored for best quality?
Store them in an airtight container refrigerated for up to two weeks or freeze for extended freshness.