 Save
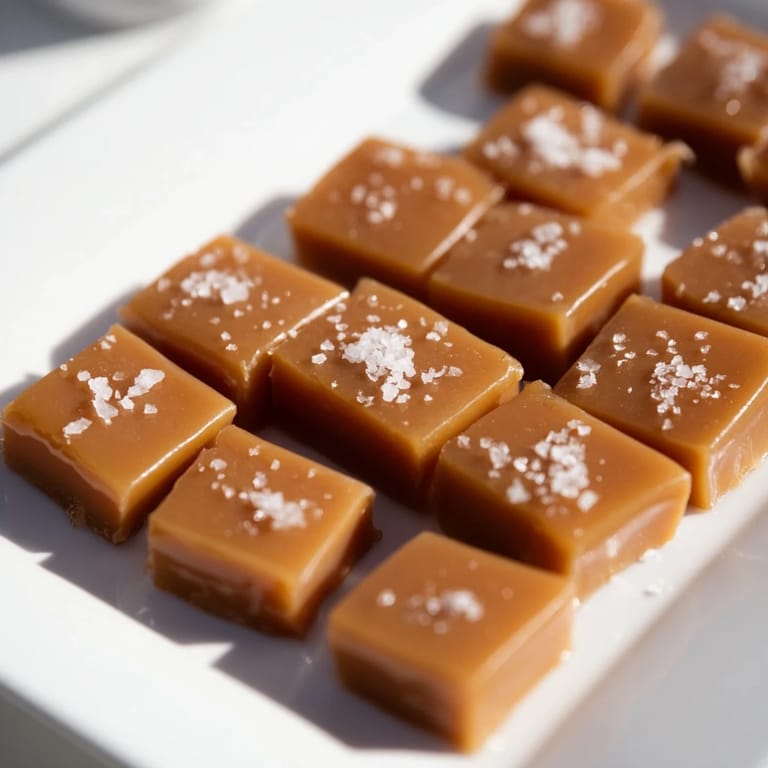
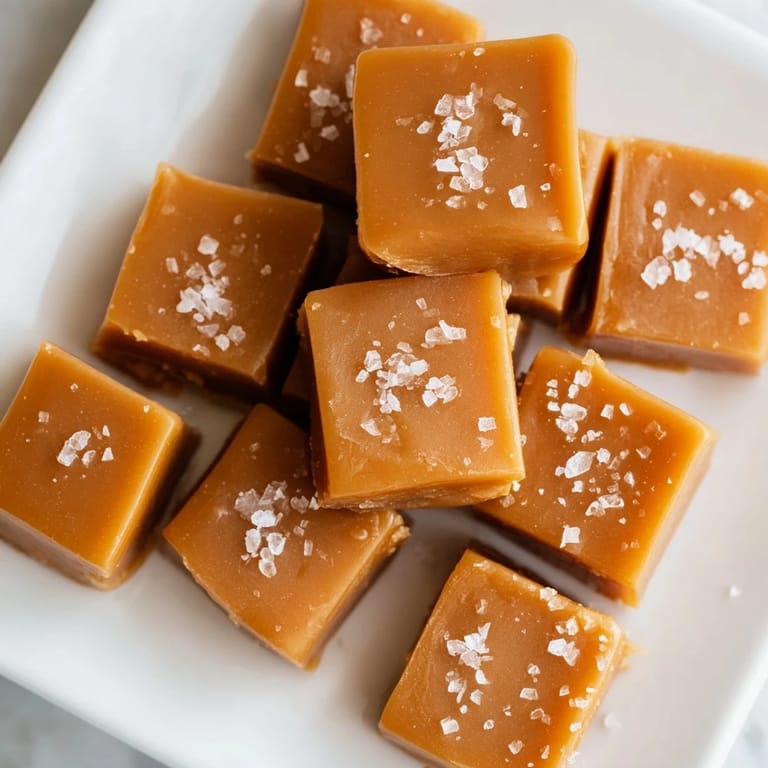
Save I made my first batch of sea salt caramels on a rainy November afternoon when I needed something to focus on besides the weather. The kitchen filled with that toasted sugar smell, and I kept checking the thermometer obsessively, convinced I'd burn everything. When I finally cut into them the next morning, they were soft and buttery and better than anything I'd bought. I've been hooked ever since.
I once made a double batch for a holiday party and watched people quietly pocket extras when they thought no one was looking. My friend Sarah ate three in a row and then asked if I'd teach her how to make them. We stood in my kitchen the following weekend, and she nearly panicked when the sugar started bubbling, but her batch turned out perfect.
Ingredients
- Heavy cream: This is what makes the caramels luxurious and soft, so don't swap it for milk or you'll lose that melt-in-your-mouth quality.
- Unsalted butter: Cut it into chunks so it melts evenly into the cream without any fuss.
- Granulated sugar: The foundation of caramel, and it needs to dissolve completely before it caramelizes.
- Light corn syrup: Keeps the sugar from crystallizing, which would turn your smooth caramel grainy.
- Water: Just enough to help the sugar dissolve at the start.
- Pure vanilla extract: A little goes a long way and deepens the flavor once the heat is off.
- Fine sea salt: Mixed into the caramel itself for that subtle salty backbone.
- Flaky sea salt: The finishing touch that makes every bite interesting, I use Maldon and love the crunch.
Tired of Takeout? 🥡
Get 10 meals you can make faster than delivery arrives. Seriously.
One email. No spam. Unsubscribe anytime.
Instructions
- Prep your pan:
- Line an 8x8-inch pan with parchment, letting it hang over two sides like little handles. Butter the parchment lightly so nothing sticks later.
- Warm the cream and butter:
- Combine them in a small saucepan over medium heat until the butter melts and everything is hot but not bubbling. Set it aside and keep it warm.
- Dissolve the sugar:
- In a large heavy-bottomed pot, stir together sugar, corn syrup, and water gently. Cook over medium heat without stirring until the sugar completely dissolves.
- Caramelize the sugar:
- Turn the heat up to medium-high and let it boil without stirring until it turns light golden and hits 320°F on your candy thermometer. This is where the magic happens.
- Add the cream mixture:
- Pour the warm cream and butter into the caramelized sugar carefully, it will bubble up dramatically. Stir constantly and cook until it reaches 245°F for soft caramels or 250°F for firmer ones.
- Finish and pour:
- Remove from heat, stir in vanilla and fine sea salt, then immediately pour into your prepared pan. Wait five minutes, then sprinkle flaky salt evenly over the top.
- Cool and cut:
- Let it cool completely at room temperature for about two hours. Lift it out using the parchment, then cut into one-inch squares with a sharp knife.
- Wrap them up:
- Wrap each caramel in wax paper or cellophane so they don't stick to each other.
 Save
Save The first time I gave a tin of these to my neighbor, she came back two days later asking if I sold them. I didn't, but I loved that she thought I should. There's something about handing someone a homemade caramel that feels like sharing a little piece of your afternoon, wrapped up in wax paper.
How to Store Them
Keep them in an airtight container at room temperature and they'll stay soft and chewy for up to two weeks. I've never had a batch last that long, but the possibility is there. If your kitchen is very warm, you can store them in the fridge, but let them come to room temperature before eating or they'll be too firm.
Flavor Variations
If you brown the butter before adding it to the cream, you'll get this nutty depth that makes the caramels taste even more complex. I've also dipped cooled caramels halfway in melted dark chocolate, which turns them into something you'd pay too much for at a fancy shop. A tiny pinch of espresso powder in the caramel mixture adds a subtle richness without tasting like coffee.
Troubleshooting and Tips
If your caramels turn out too soft, you didn't cook them to a high enough temperature, next time aim for 248°F or even 250°F. If they're too hard, you went past 250°F and they'll be more like toffee. The flaky salt on top isn't just for looks, it cuts through the sweetness and makes each bite feel balanced.
- Use a heavy-bottomed pot to prevent hot spots that can burn the sugar.
- Stir constantly once you add the cream or the bottom can scorch.
- Cut them with a very sharp knife and wipe it clean between cuts for neat edges.
 Save
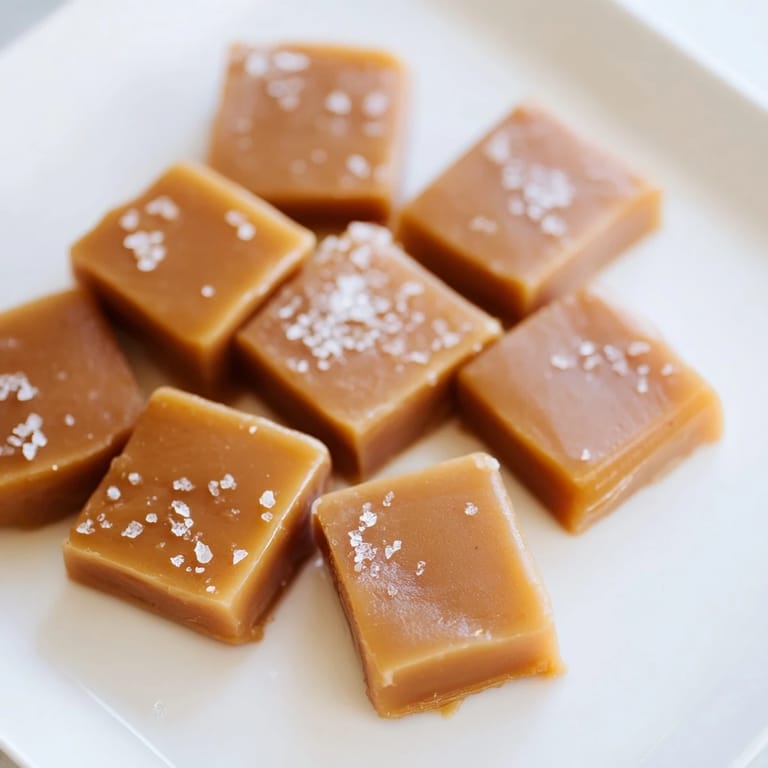
Save These caramels have become my go-to whenever I want to make something that feels special without too much fuss. They're sweet, salty, buttery, and gone faster than you'd expect.
Recipe FAQs
- → What type of salt is best for topping?
Flaky sea salt, such as Maldon, works best for adding a delicate crunch and balanced saltiness without overpowering the sweetness.
- → How do I achieve the soft caramel texture?
Cooking the caramel to around 245°F (118°C) results in a soft, chewy consistency. Higher temperatures will make the caramel firmer.
- → Can I prepare these caramels ahead?
Yes, once cooled and wrapped, caramels can be stored at room temperature for up to two weeks in an airtight container.
- → What role does corn syrup play in the mixture?
Corn syrup prevents sugar crystallization, ensuring the caramel remains smooth and creamy instead of grainy.
- → Is it necessary to use a candy thermometer?
Using a candy thermometer helps achieve precise cooking temperatures crucial for the ideal caramel texture and prevents overcooking.