 Save
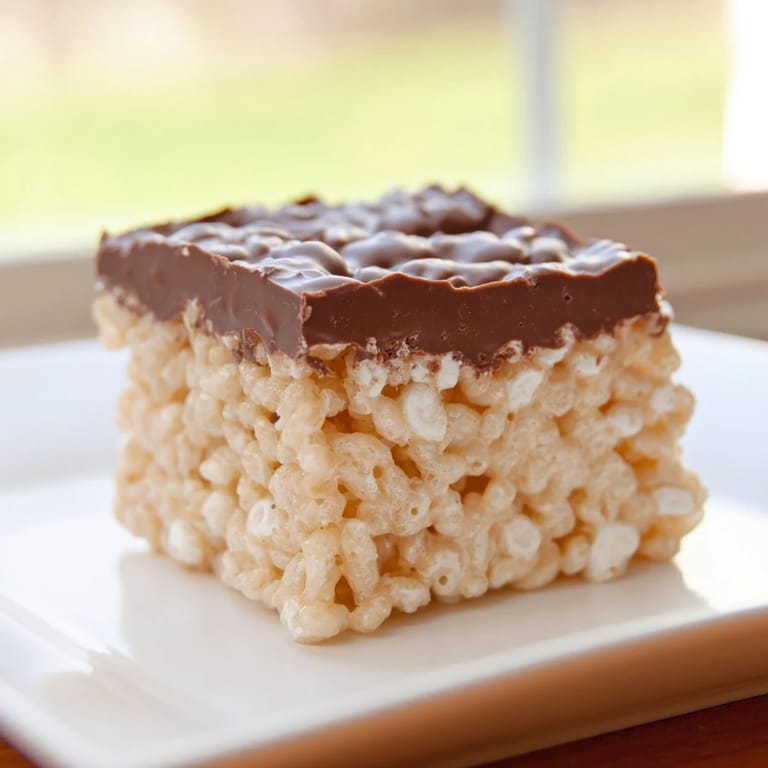
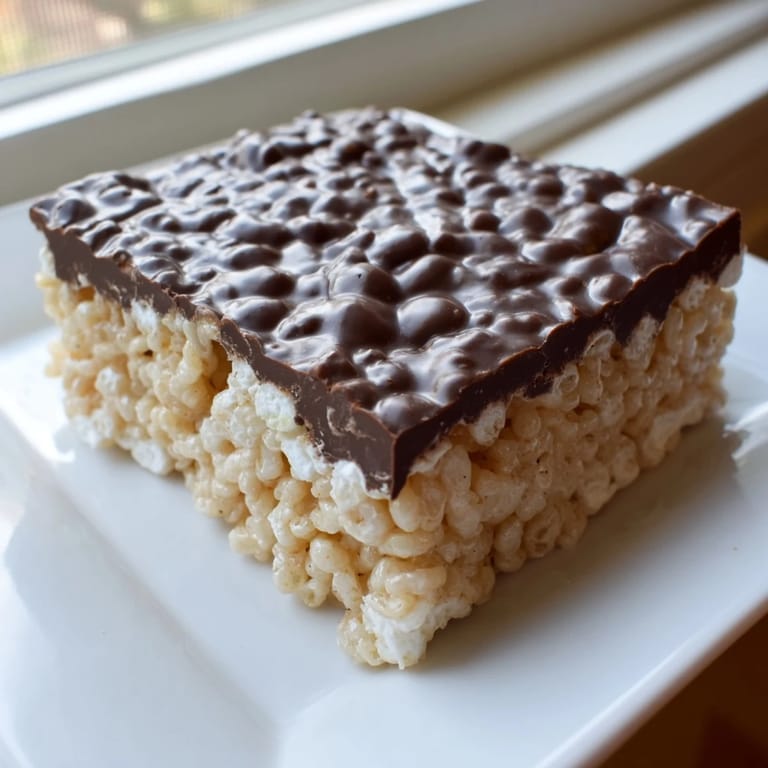
Save There's something about Rice Krispie Treats that stops time in a kitchen. I made them once on a rainy afternoon when the house felt too quiet, and the moment I heard that satisfying snap-crackle-pop of the cereal hitting the warm marshmallow mixture, the whole mood shifted. My kitchen filled with the sweetness of melting marshmallows, and suddenly it didn't feel like just making a snack—it felt like creating something that would make people smile. These treats are pure nostalgia in square form, but they're also surprisingly forgiving to make, which is why I find myself reaching for this recipe whenever I need something that feels both comforting and a little celebratory.
I remember bringing a batch to a bake sale fundraiser, and a little girl with sticky fingers came back three times asking for more. Her mother laughed and said they were the first thing to sell out, which stuck with me. That's when I realized these aren't fancy or complicated—they're just genuinely loved, and there's something powerful about that.
Ingredients
- Puffed rice cereal (6 cups): The foundation of everything—you want the kind that still has that satisfying crunch even after it's coated in marshmallow, so don't skip the name-brand stuff if you can help it.
- Mini marshmallows (4 cups): Mini ones melt faster and more evenly than the large ones, which saves you from overstirring and accidentally destroying the cereal's texture.
- Unsalted butter (3 tbsp): This prevents the treats from tasting greasy or oversalted—it's a small amount but it matters.
- Semi-sweet chocolate chips (1 cup, optional): If you go this route, don't use chocolate chips meant for baking in large quantities because they can seize; the good stuff tempers better and tastes richer.
Tired of Takeout? 🥡
Get 10 meals you can make faster than delivery arrives. Seriously.
One email. No spam. Unsubscribe anytime.
Instructions
- Prepare your pan:
- Line a 9x13-inch baking pan with parchment paper or give it a light coating of butter or cooking spray. This step saves you from the frustration of trying to free dried-on treats from the edges later.
- Melt butter and marshmallows:
- In a large saucepan over low heat, melt the butter first, then add your marshmallows and stir constantly until the mixture is completely smooth and glossy—this usually takes about 3 to 4 minutes. Don't walk away from the stove; marshmallows can go from melting beautifully to scorched faster than you'd think.
- Combine with cereal:
- Remove the pan from heat immediately and add the cereal all at once, then gently fold it in using a rubber spatula until every piece is coated. Work quickly but gently—overworking breaks the cereal into dust.
- Press into the pan:
- Transfer the mixture to your prepared pan while it's still warm and pliable. Butter your spatula or use wax paper on top, then press down firmly and evenly, working from the center outward. The pressure here determines whether your finished treats will be crispy-chewy or dense and brick-like.
- Add chocolate (if using):
- Melt chocolate chips in a microwave-safe bowl in 30-second bursts, stirring between each burst until smooth, then spread it evenly across the surface. Let it cool slightly before cutting so it sets just enough to snap cleanly.
- Cool completely:
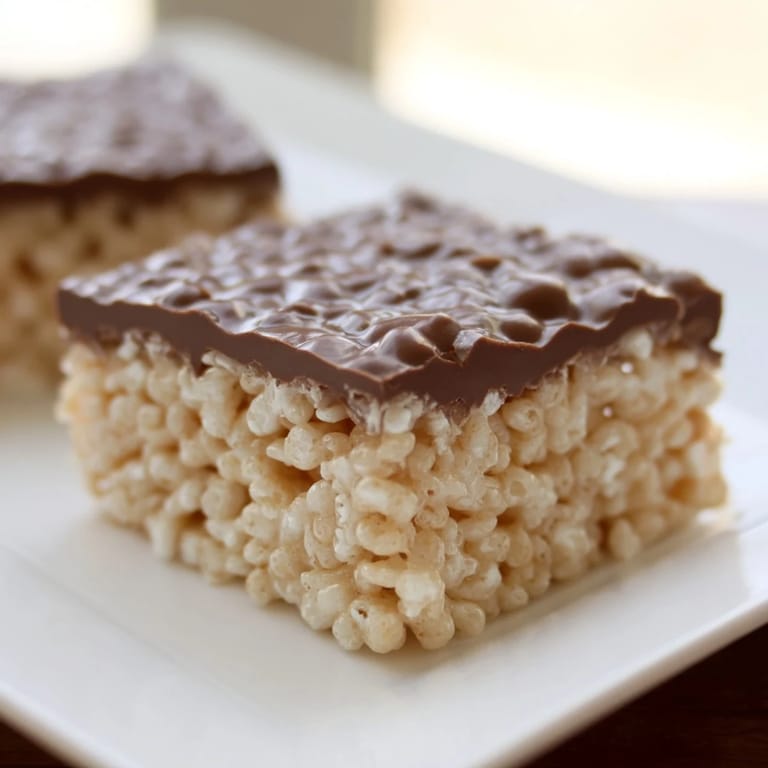
- Leave the treats at room temperature for at least 30 minutes—patience here prevents a crumbly mess when you cut. Once they've set, cut into 16 squares with a sharp, buttered knife using a gentle sawing motion.
 Save
Save I once tried to cut them while they were still warm, thinking I'd save time, and ended up with a sticky, stringy disaster that I could barely scoop off the knife. Now I know that those 30 minutes of waiting is when the magic actually happens—when everything comes together and transforms from a warm, gooey blob into something that can actually hold its shape and stand up to being shared with people.
The Magic of Timing
The entire process from stove to sliced squares happens in less than an hour, but within that window there are a few moments that matter more than others. The melting happens fast, the folding needs to be gentle, and the pressing needs to be firm—it's almost like a little dance where each step feeds into the next. Once you've done it once or twice, your hands start to remember the rhythm, and you stop thinking about it so much and just let it happen.
Beyond the Classic
I've played around with these treats more times than I can count, and they're forgiving enough to handle experimentation. Vanilla extract added after the marshmallows melt brings a subtle warmth, and swirling in peanut butter or butterscotch chips turns them into something slightly different but equally craveable. Vegan versions work too—just reach for plant-based butter and marshmallows, and you'll get the same chewy-crispy magic without any compromise on taste.
Storing and Sharing
These treats stay fresh in an airtight container at room temperature for about a week, though they rarely last that long in my house. I've found that individually wrapping them in wax paper makes them easier to grab, and it also makes them feel fancy enough to bring to a gathering without apology. The buttered knife technique I mentioned earlier applies to storage too—when you're cutting them for the second time (if there are any left), your blade will glide through much more cleanly.
- Store in airtight containers to keep them crispy on the outside and chewy on the inside.
- Don't refrigerate unless your kitchen is unusually warm, because cold temperatures can make them harder than ideal.
- If you do want to make them ahead, you can prepare them the night before and they'll be perfect for the next day's gathering.
 Save
Save These squares have a way of bringing people together without requiring any fancy technique or ingredient list—just honest, simple goodness. Make them when you want to feel like you've created something people will genuinely enjoy.
Recipe FAQs
- → What gives the squares their chewy texture?
The melted marshmallows bind the puffed rice cereal, creating a soft and chewy consistency once cooled.
- → Can I add flavors to enhance the base?
Yes, adding vanilla extract after melting the marshmallows adds a subtle flavor boost to the treats.
- → How do I achieve a smooth chocolate topping?
Melt chocolate chips in short intervals in the microwave, stirring frequently to create a smooth, even topping.
- → What tools are essential for making these squares?
A large saucepan for melting ingredients, a spatula or spoon for mixing, and a parchment-lined baking pan for shaping the squares.
- → Are there alternatives for dietary preferences?
Using vegan marshmallows and plant-based butter can make this treat suitable for vegan diets.